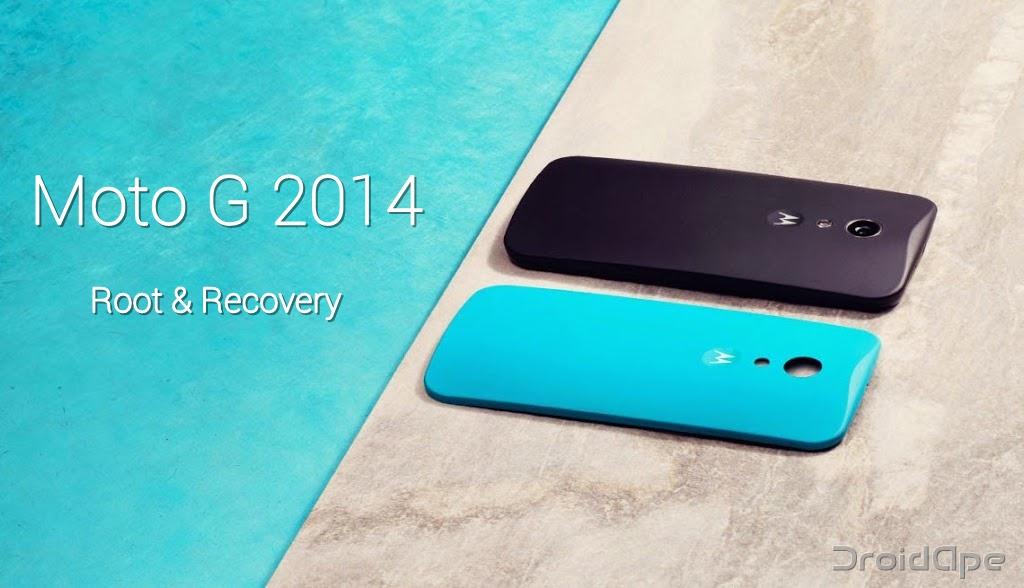
Moto G 2014 is one of the most popular budget smartphone launched by Motorola to hold monopoly in several budding markets. The device comes with commending specs and great looks despite the pocket-friendly price tag. However, rooting the device will make it more powerful as user has the ultimate permissions. Moreover, rooting your device will open the portal to awesomeness as you can now enjoy a wide range of apps which are made specially for rooted Android devices.
So, today we will see how to install TWRP and root Moto G 2014 with a detailed procedure. Before we begin with the rooting tutorial, we recommend you to follow the below knowledge articles to learn about rooting, custom recoveries and their pros & cons.
Warning
Rooting a device and installing custom modules is deemed hazardous and you might end up with a bricked device in worst case scenario. Warranty may be void of your device either temporarily or permanently if you follow the procedure in this tutorial. You alone are responsible for the consequences, we won’t be liable if any damage occurs to your device even though we’re confident that the process works and is tested by many users. However, you can reach us for assistance in the comments section.
Prerequisites
- Charge your device above 60% to make sure it doesn’t die in the middle of the process which may be fatal sometimes.
- Make a backup of everything on your device so that you can restore the files if something goes wrong. Here’s the usual checklist:
- Complete backup of your internal storage
- Backup your Contacts, SMS, Call logs, music playlists and photos. Tutorial here.
- Take a complete backup of your apps with data. If you don’t know how, follow our detailed guide on how to backup apps and data with Helium app.
- Install proper drivers on your PC. If you haven’t installed them already, you can follow our detailed USB driver installation guide.
- Setup ADB and Fastboot files on your PC. If you don’t know how, follow our detailed guide on how to setup ADB and Fastboot on your PC.
- Prepare your device:
- Enable developer options: Go to your device’s Settings » About phone » Scroll to the bottom and tap on “Build number” seven times to enable developer options.
- Enable USB Debugging: Go to your device’s Settings » Developer options » tick the “USB debugging” check-box (sometimes listed as Android Debugging)
Downloads
- Download the latest TWRP recovery for Moto G 2014 → Download Link
- Download SuperSU zip → Download Link
Step-By-Step Installation Guide
In this guide, first we will unlock the bootloader on your Moto G 2014 and install a TWRP recovery. Then we will install the SuperSU file to root Moto G 2014. So, without any ado, let’s start with the guide.
Phase 1: Unlock the Bootloader
Unlocking the bootloader on the Moto G 2014 would wipe the entire device, so it’s important that you take a thorough backup of your device before proceeding with this guide. Follow our below post on how to unlock bootloader on Moto G 2014 device.
Phase 2: Install TWRP Recovery
- Connect your Moto G 2014 to PC via USB cable.
- Open the command prompt in your PC and type the below command to confirm your device was detected by the PC.
adb devices
If everything is good, a message will appear “List of devices attached” along with your device’s serial number. If your device is not visible, then try reconnecting your device again and type the above command.
- Now type the below command in the command prompt to enter into fastboot/bootloader mode on your device.
adb reboot bootloader
- Download the TWRP file from the download section above and rename the downloaded image file to recovery.img for convenience.
- Navigate to the path where you’ve placed the TWRP image and open a command prompt in that folder by pressing Shift + Right click in any empty space inside the folder, and select Open command window here from the Windows context menu.
- Now type the below command to flash TWRP recovery on your device.
fastboot flash recovery recovery.img
- Now you can reboot the device using the below command.
fastboot reboot
That’s it. Now you have successfully installed TWRP recovery on your device.
Phase 3: Root your Device
Now all you need to do is to flash the SuperSU binary from the custom recovery to root your device. If you don’t know how, follow the step-by-step from below.
- Download the latest SuperSU zip from the downloads section and transfer it to your device’s storage.
- Connect your device to PC using a USB cable and enter the following command in the CMD window to reboot your device into recovery mode.
adb reboot recovery
- Now that you’re in recovery, it’s best to make a nandroid backup of your device. If you’re not sure of the procedure, follow our definitive guide on how to take a nandroid backup on various recoveries.
- In the recovery, tap the Install button and select the SuperSU zip to flash it. For more detailed instruction for flashing zips on different recoveries, follow our definitive guide here.
- Once the SuperSU zip is flashed, reboot your device by selecting the Reboot system option from the recovery menu.
- To verify if the device is rooted or not, install the below app and open it to verify.
That’s it. You have successfully unlocked the bootloader on your device, installed a custom recovery and rooted your Moto G. Now you can enjoy advanced apps and custom ROM’s on your Moto G device without any flaws.


